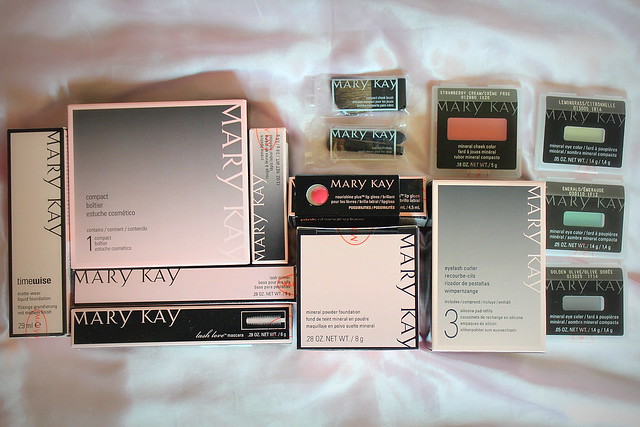
Once in a while i love to play up my eyes with different colors other than brown hues. This time around, i’ve been given the opportunity to “dress up” my eyes in luxurious shades of fresh and crisp greens. While creating this look i’ve discovered many Must Love products especially the Satin Rose lipstick that simply makes lips look irresistibly kissable! Here’s a simple step-by-step makeup tutorial on creating a total look by Mary Kay i named… “Lady Emerald“.
Mary Kay is one of the largest direct sellers of skin care and color cosmetics in the world with $2.5 billion in wholesale sales. Mary Kay® products are sold in more than 35 markets worldwide and the company’s global independent sales force exceeds 2 million! Their mission is to ENRICH THE LIVES OF WOMEN. Log on to www.marykay.com.my to learn more about the brand.
Step 1: Foundation. i’m using Matte-Wear liquid foundation by Mary Kay, as it contains a blend of collagen-building peptides + Vitamin E that helps protect skin against environmental stressors. It also fights signs of aging while visibly reducing the appearance of fine lines for a perfectly matte finish.
To get a light coverage for daily wear:
i) First spray thermal water all over face
ii) Dab foundation creating a face map while skin is still damp
iii) Blend with a good brush for a flawless finish
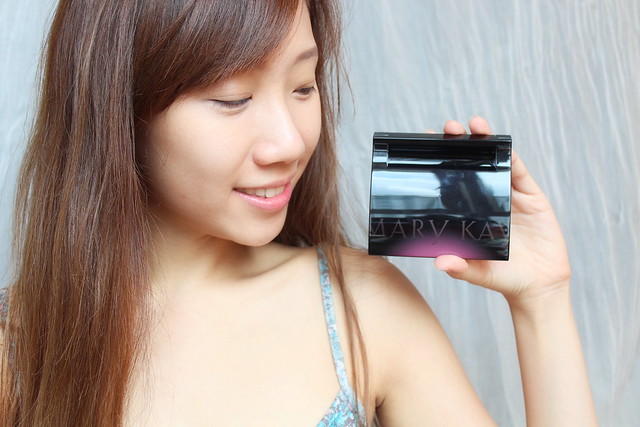
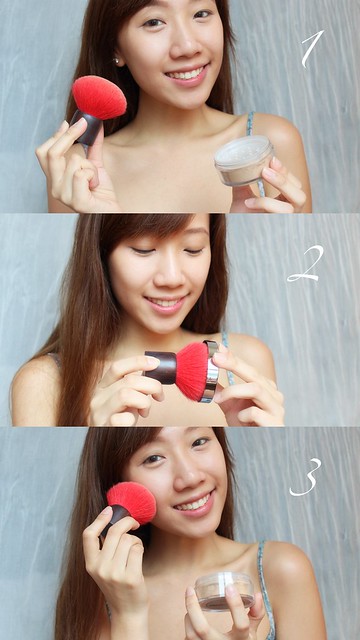
Step 2: Compact / loose powder. Set foundation with Mary Kay mineral powder foundation for a long lasting coverage all day long.
i) Load kabuki brush with Mary Kay weightless mineral goodness
ii) Press brush against cover to remove any excess powder
iii) Apply on face in gentle circular motion
Result is a well-prepped canvas ready for any great masterpiece to be ‘painted’ on! This time, i’m creating the “Lady Emerald” look using:
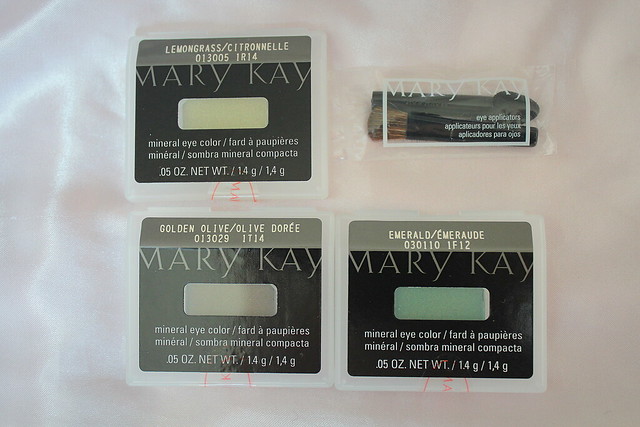
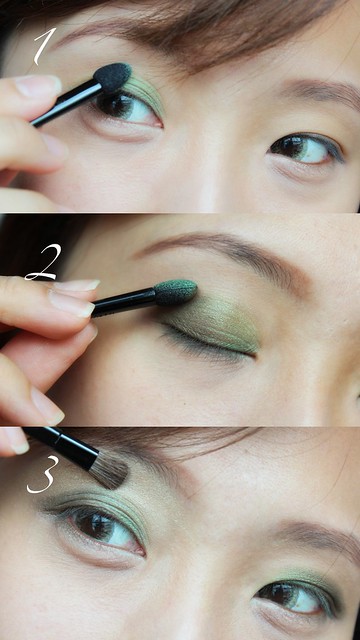
Step 3: Eyeshadow. i’m using 3 Mary Kay mineral eye colors: Lemongrass, Golden Olive, and Emerald; which is obviously my favorite. This mineral-based formula is for intense, crease-resistant, fade-resistant shades that look fabulous on any skin tone (available in 29 different shades as well).
To create 3 toned eye lids:
i) Press Emerald all over lids using a sponge tip applicator for more intensity
ii) Using the same applicator, flip to the other side and apply Golden Olive, creating a “<” and “>” shape for each eye
iii) Swipe Lemongrass below brow bones and blend the edges to create harmony between all 3 tones
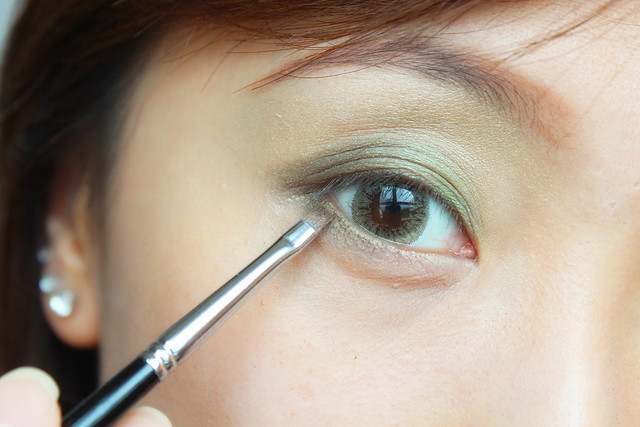
iv) Using a small flat brush, dab Golden Olive and Lemongrass (at the inner corners) along the lower lash lines to create balance
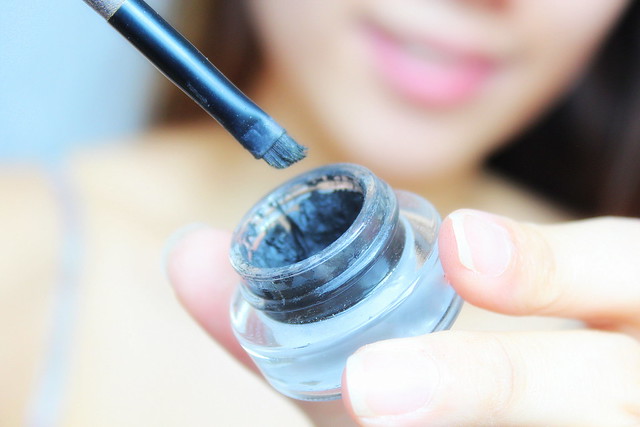
Step 4: Eye liner. p.s. investing in a good brush saves you lots of time, everyday!
Line eye as close as possible to the lash line and draw a small ‘wing’ at the end for a sexc cat-eye effect.
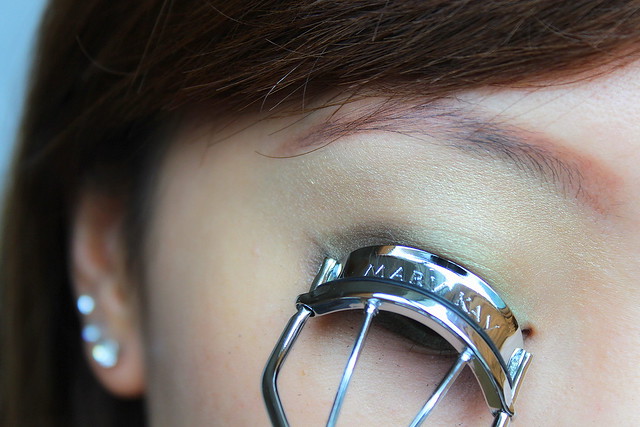
Step 5: Curl lashes (30 seconds for each side). Here i’m using Mary Kay eyelash curler that comes with 3 silicone pad refills.
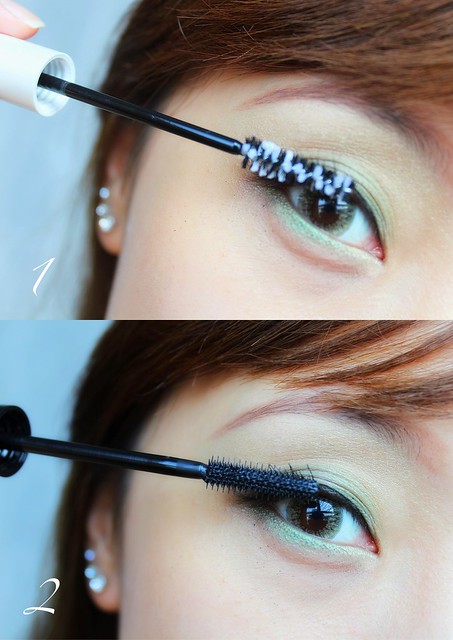
Step 6: Lash primer + Mascara + Falsies. Time to bat those lashes making them looking fuller, longer, and more volumized!
i) Apply a coat of Mary Kay dual-purpose lash primer (can even be worn alone as a lash conditioning) using its unique dual-action brush, designed specifically to deliver formula from root to tip smoothly with no clumping
ii) Follow by Mary Kay lash love mascara in J’♡LE NOIR for a clean definition.
iii) Optional: Add on false lashes for a more dramatic look
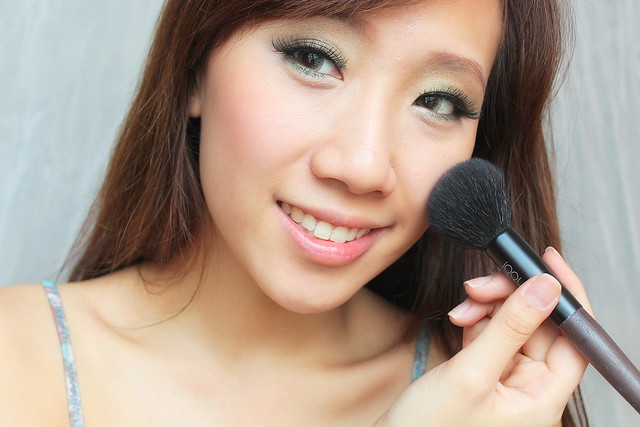
Step 7: Blusher. This one is Mary Kay mineral cheek color in Strawberry Cream, a yummy pink swirled with a hint of glamorous golden shimmer!
Load blusher brush, tap off excess, smile and swipe on the apples of your cheeks for a healthy, rosy complexion full of vitality. 😀
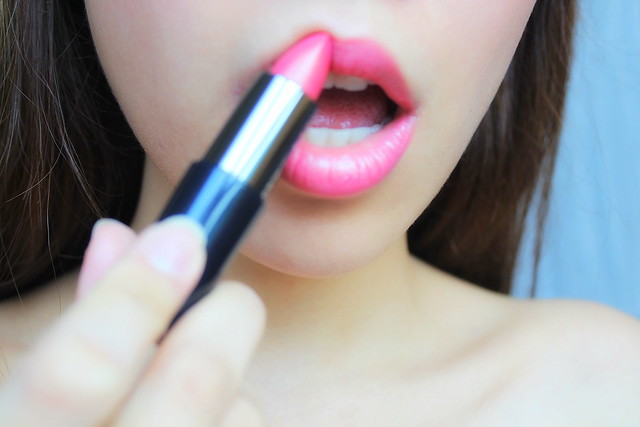
Step 8: Lipstick. i’m using Mary Kay creme lipstick in Satin Rose, a classic recipe of your favorite lipstick! This is by far the most comfortable wearing lipstick i’ve ever experienced; with just the right texture and consistency providing a beautiful pop of color.
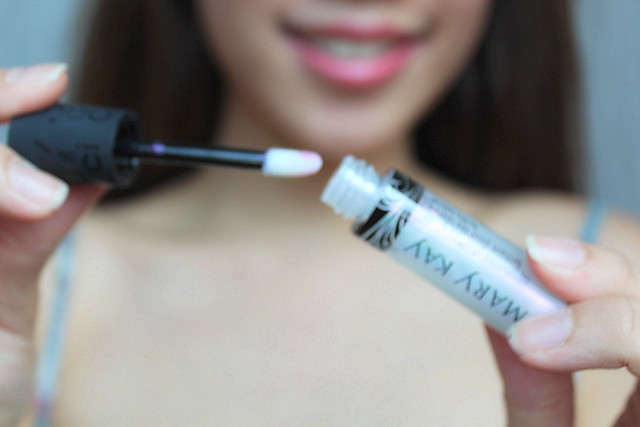
Step 9: Gloss, for a polishing finish. Here i’m using Mary Kay nourishine plus lip gloss in Inspiration.
Step 10: Your “Lady Emerald” look is done! Learn how you can “smile from the skin” to complete this whole look here.
This look is a perfect wear for Spring / Summer be it for a picnic at the park, to a glamorous pool party, or simply a BBQ in the evening with friends. Just remember: wear it with confidence! 😉










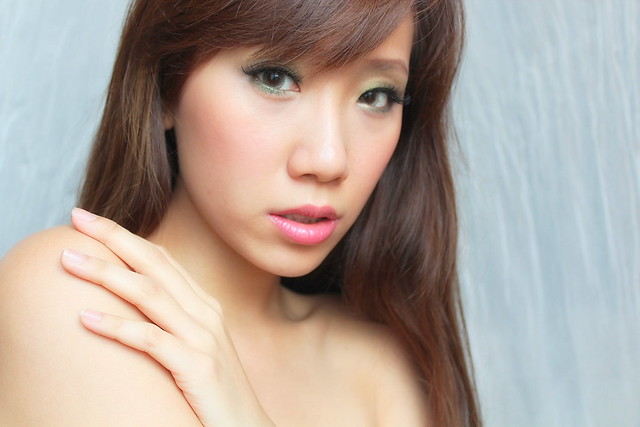


[…] wearing the Lady Emerald makeup look as shown in this tutorial. Till then, have fun and always remember: Practice makes […]